Retro Rocket OS
BASIC-Powered Operating System
Loading...
Searching...
No Matches
Getting Started

This section will guide you through starting Retro Rocket for the first time.

Booting Retro Rocket

  • Insert the Retro Rocket CD or USB stick into your PC. For details on how to create boot media, see the page Creating Boot Media
  • Power on or restart the machine.
  • Enter your system’s boot menu (often F12, F8, or Esc depending on the manufacturer).
  • Select Boot from CD/DVD or Boot from USB depending upon your boot media choice, and system.

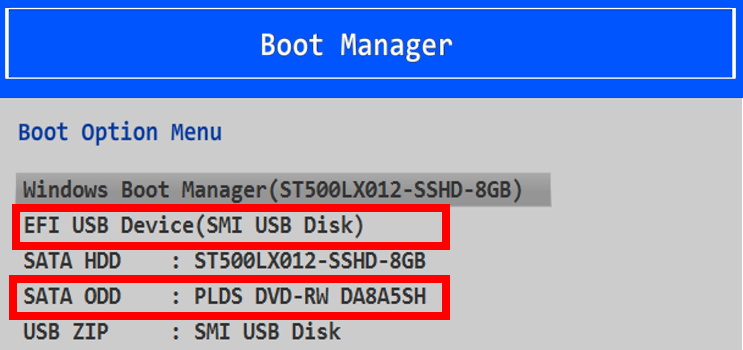
Retro Rocket will load directly from the boot media. You don’t need to install anything to your hard disk to try it out.

First screen

After a short load you will see some diagnostics and an image of our mascot, Rocky, and then arrive at the command shell prompt:

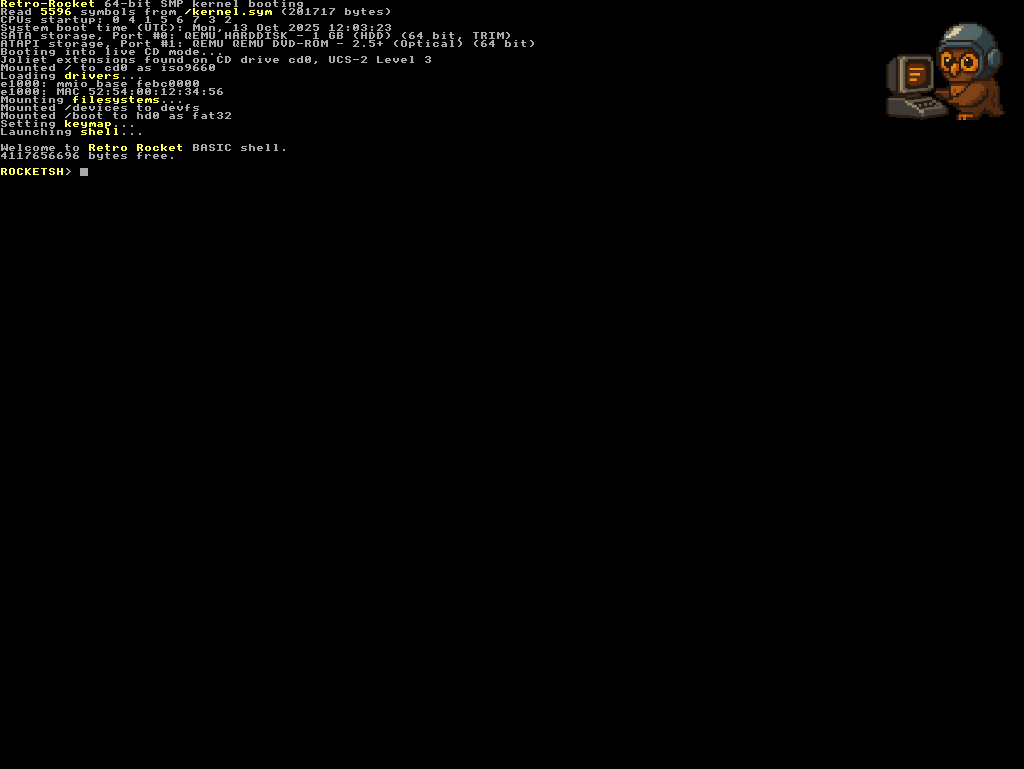
This is where you type commands.

First commands to try

  • dir - lists the contents of the current directory.
  • about - loads and runs the BASIC program called about

Saving your work

When running from the LiveCD, Retro Rocket automatically creates a 1 GB RAM disk.

  • It is mounted at /ramdisk.
  • Save your BASIC programs there while experimenting.
  • Files in the RAM disk are lost when you shut down or restart.

Installing to hard disk

If you want to keep your work permanently, you can install Retro Rocket to a SATA or NVMe hard disk. See the Installation section for details.