|
Retro Rocket OS
|
|
Retro Rocket OS
|
Retro Rocket can be installed from the LiveCD onto a SATA or NVMe hard disk. Installation is simple and text-based.
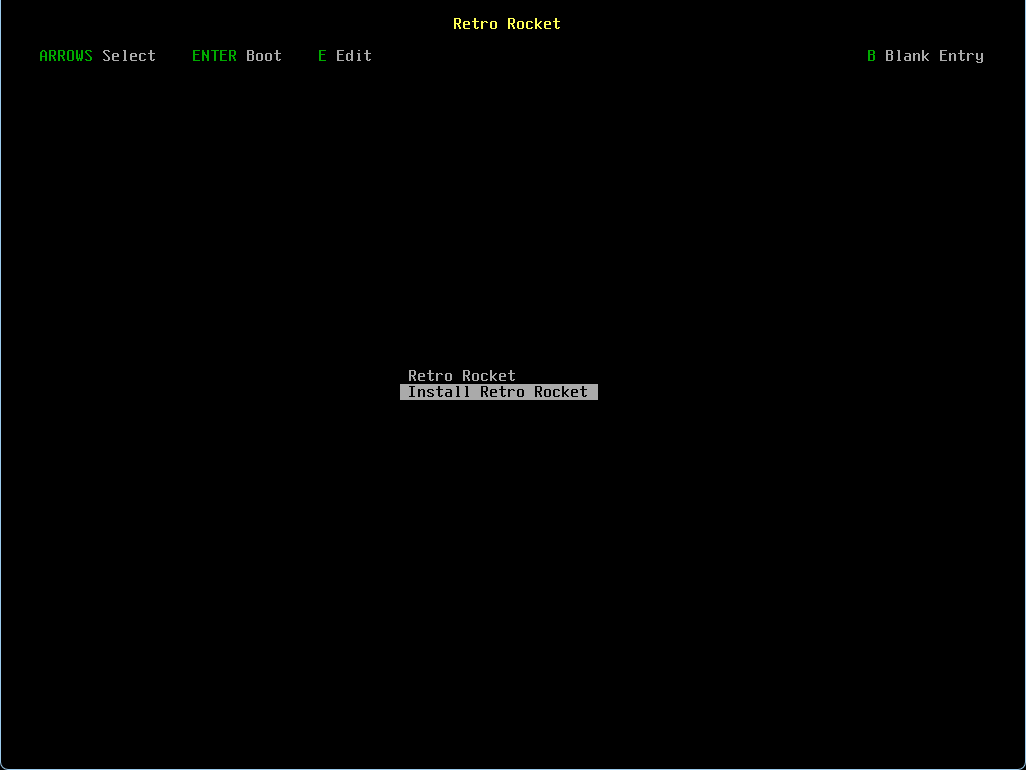
Insert the Retro Rocket CD or USB and boot from it. On the boot menu, choose Install Retro Rocket with the arrow keys and press Enter.
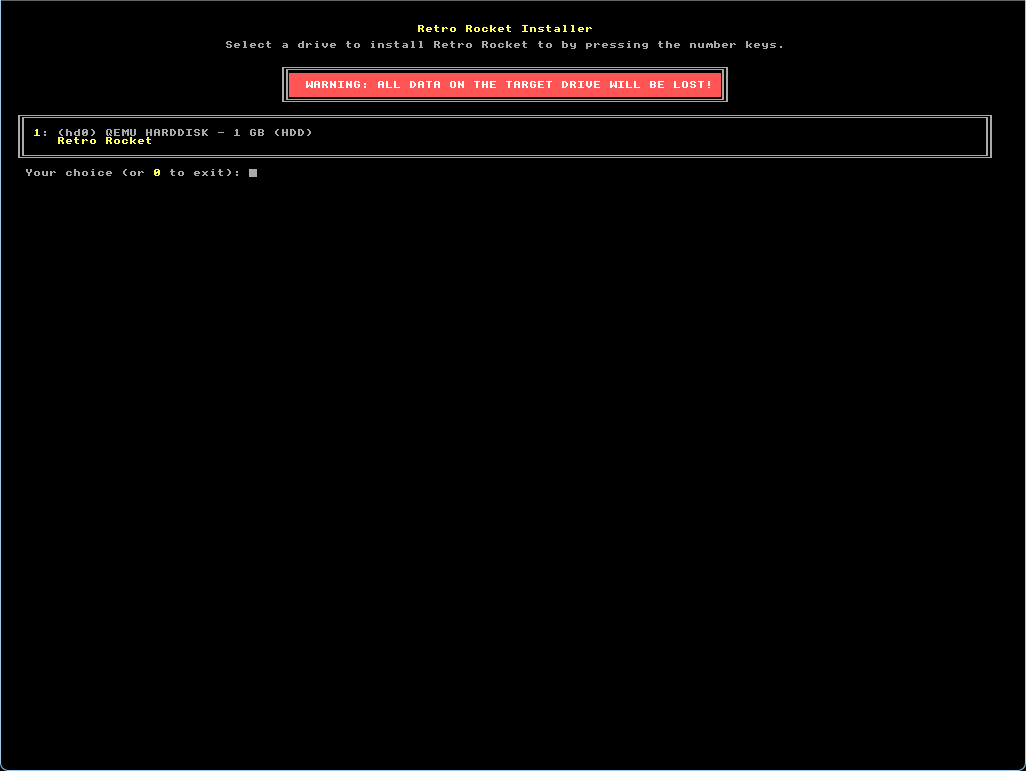
The installer shows a list of available drives. Each drive is listed with its size and type. Press the number key for the drive you want to install to.
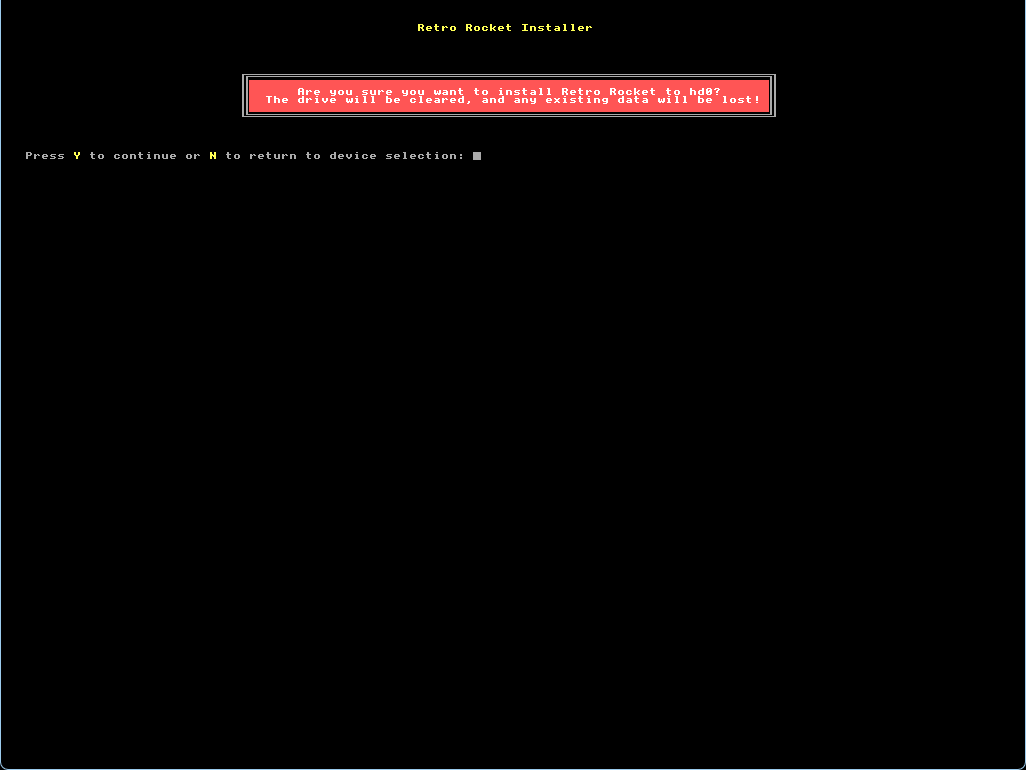
You will be asked to confirm. Press Y to continue or N to go back and choose another drive.
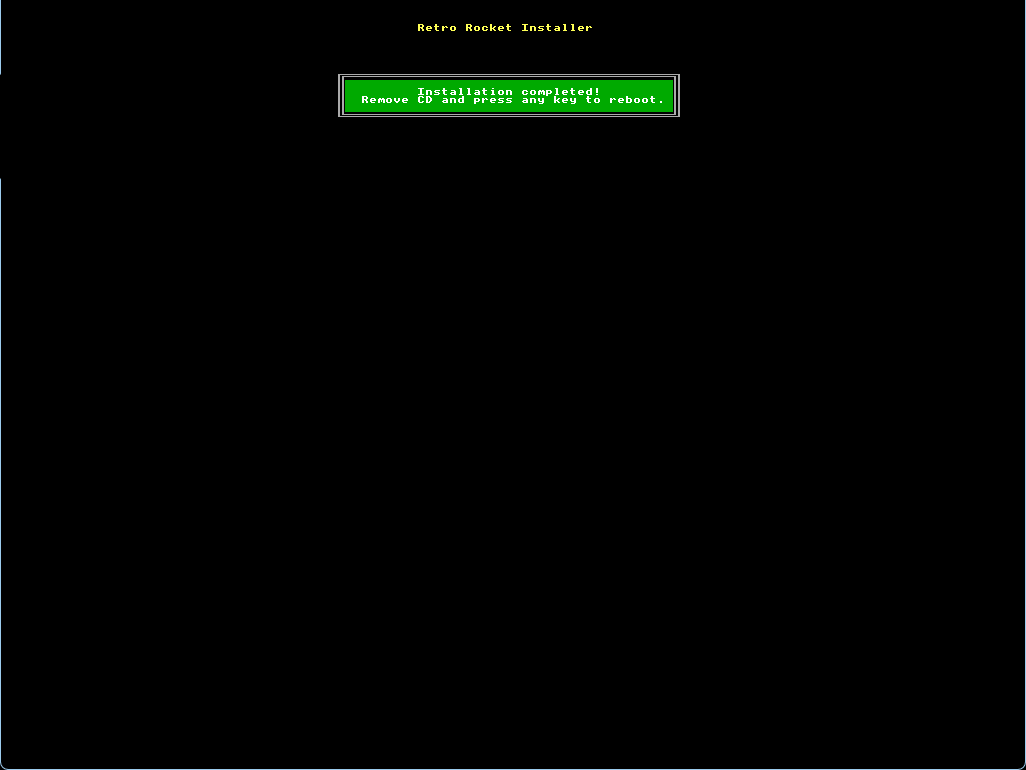
The installer will copy the system files from the CD to your hard disk. A progress bar shows the copy process.

When finished, the installer will show a success message. Remove the CD and press any key to reboot into your new Retro Rocket installation.